Are Applebee’s Chicken Wonton Tacos Worth Copying? | CopyCaturday
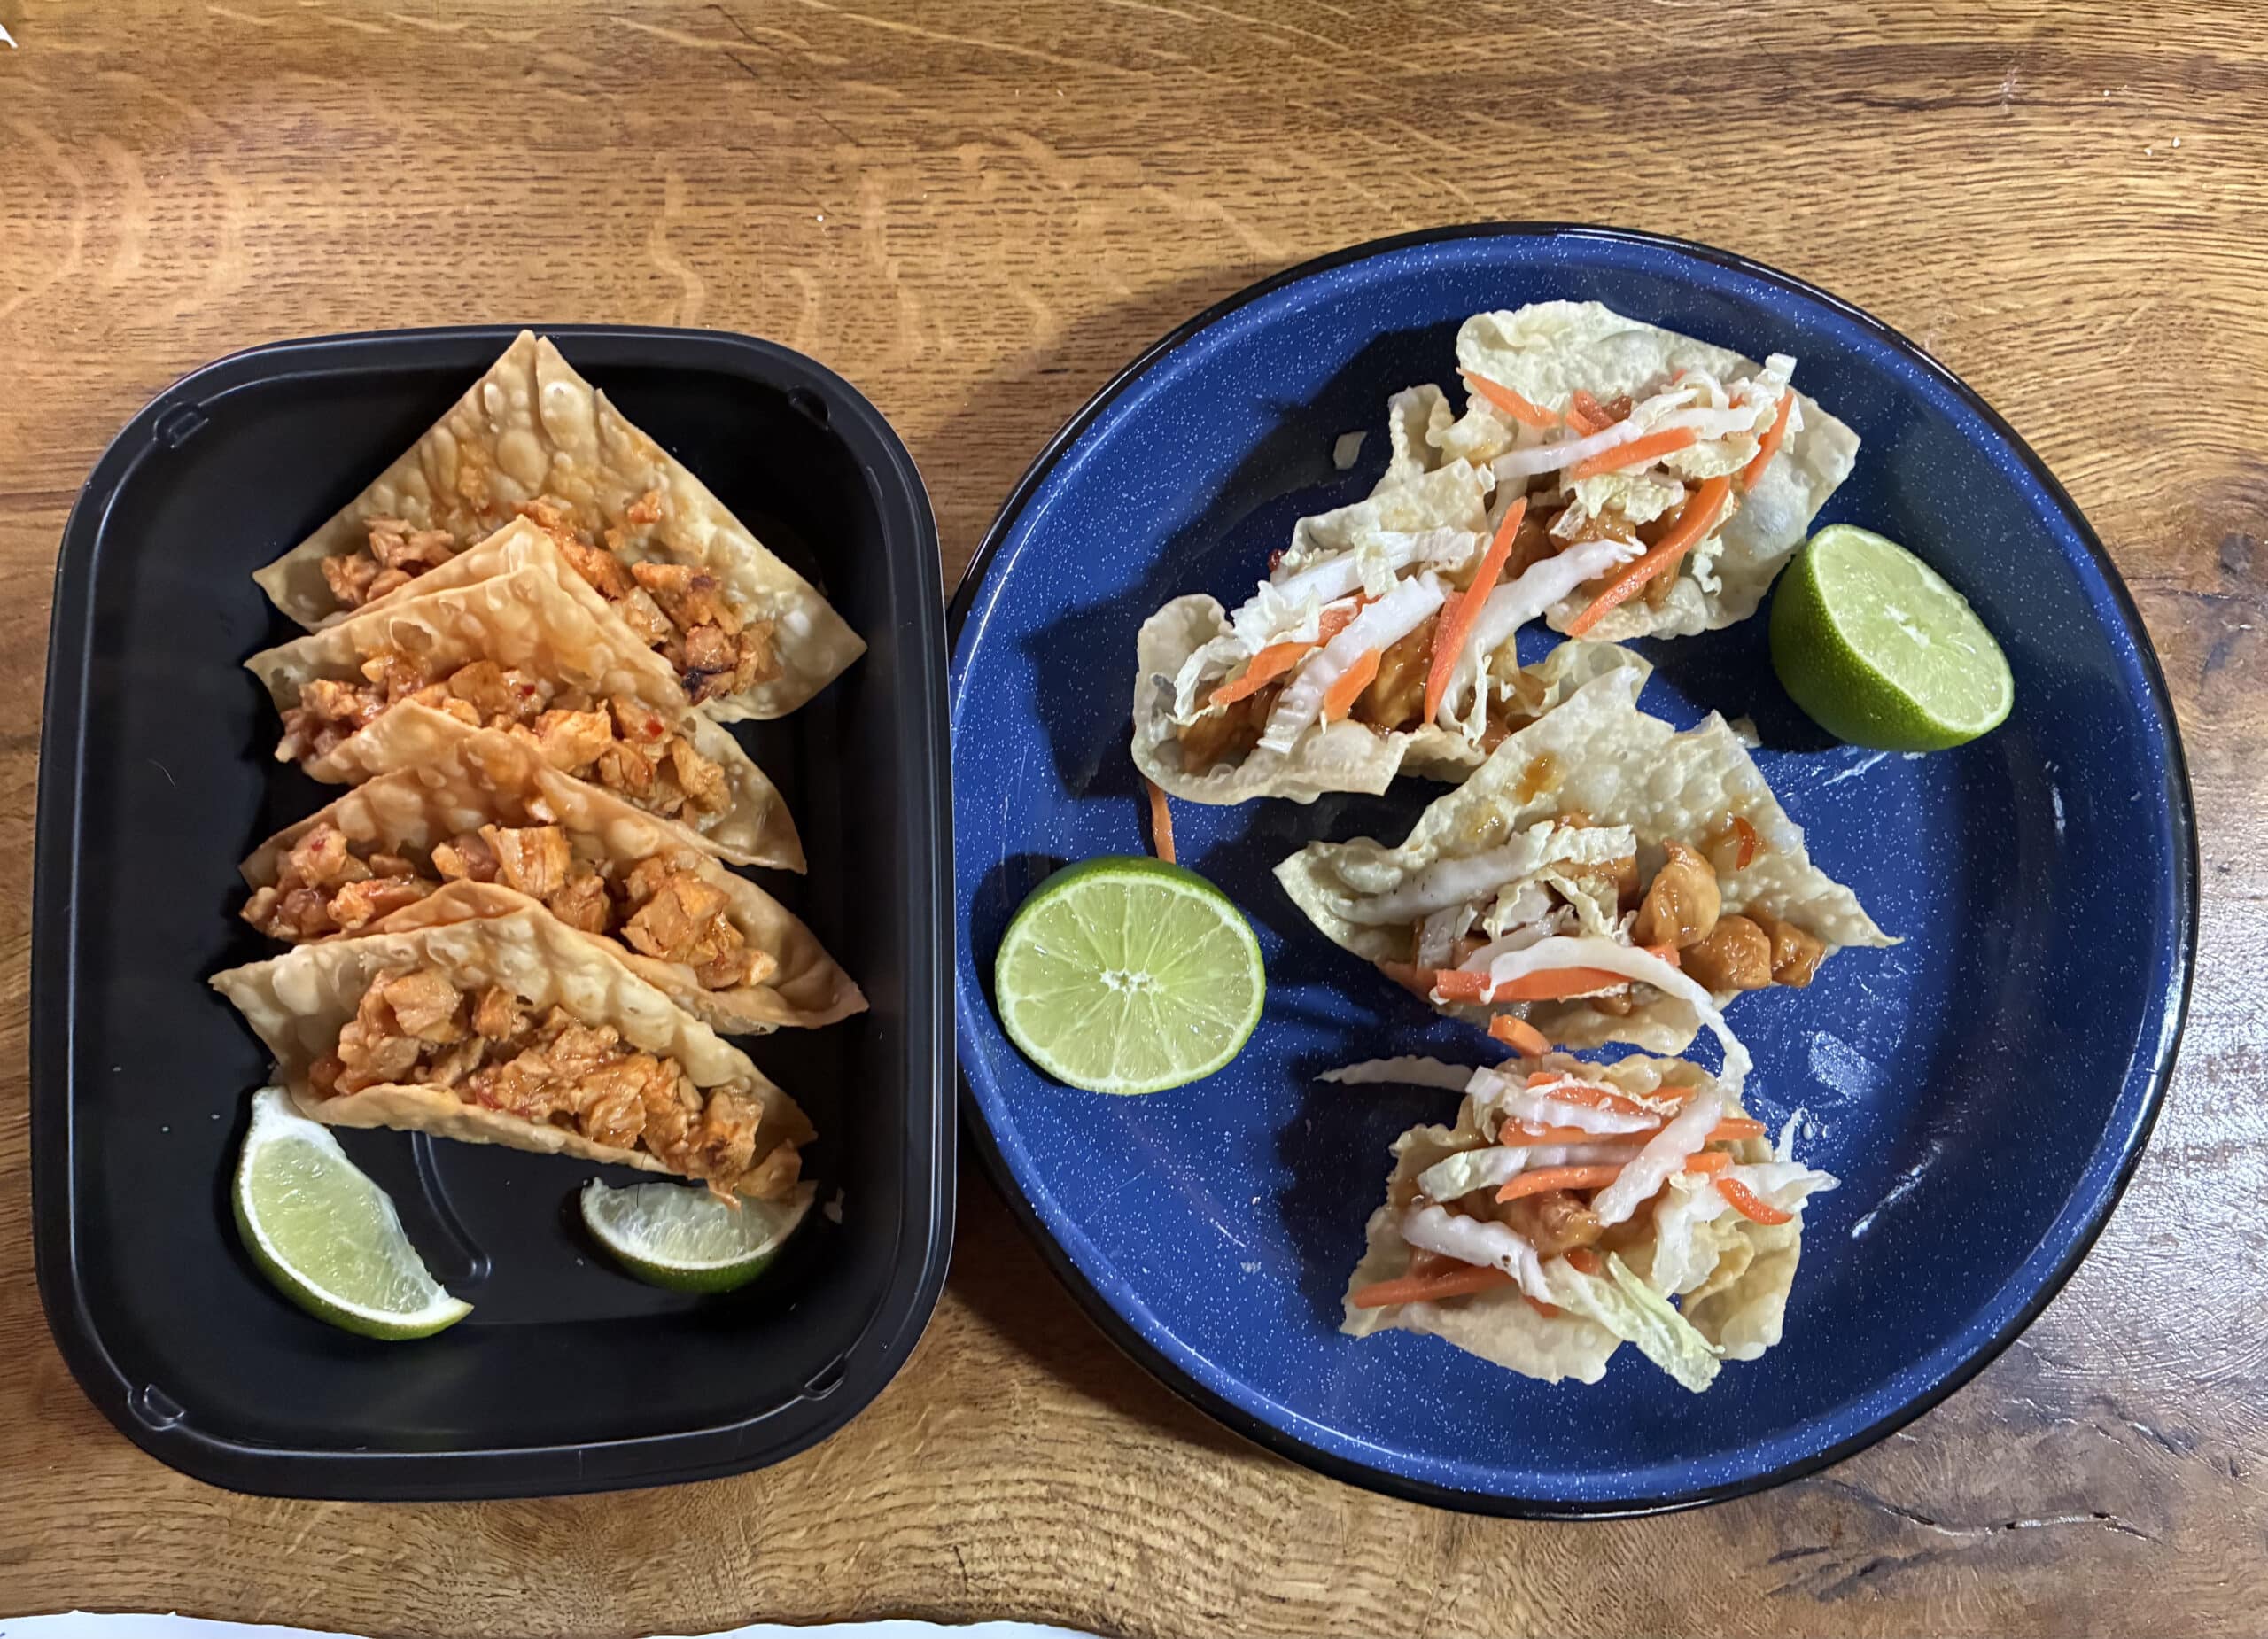
So let’s talk about Applebee’s Chicken Wonton Tacos — those tangy little bites of goodness. I was craving them, Zach had never tried them, so naturally that meant I had to make them. Rather than wing it and assume I had the flavors right, we decided to turn it into a CopyCaturday situation – Applebee’s …
Read more “Are Applebee’s Chicken Wonton Tacos Worth Copying? | CopyCaturday”