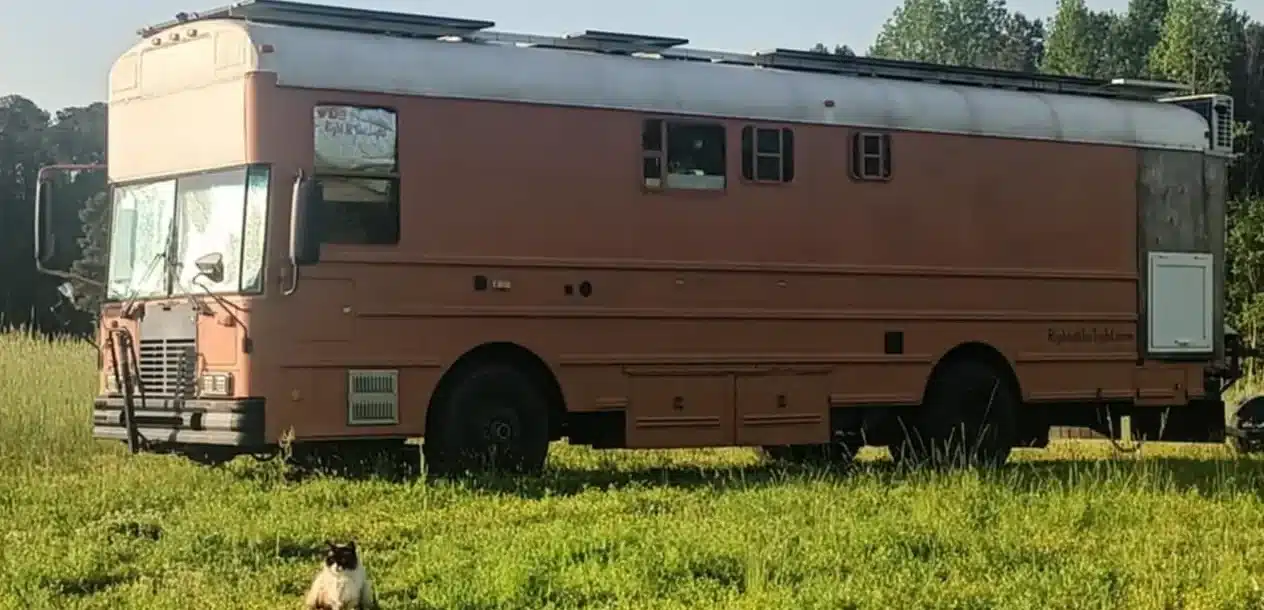
The Mad Max Catio: How We Escape-Proofed the Bus (The Way It Was)
This is the catio the way it was when we first built it. We’ve changed a lot since then, and a new post with the upgrades is coming, so think of this one as the original setup.
Why We Built the Catio
From day one, we let our cats free roam. They went in and out all day and night, it had always been safe for them, and they never went far from the bus. Then we headed to Arizona to meet friends, and that changed fast. Pebbles disappeared at a Harvest Host just over the Arizona state line, and we had to leave without her. When we finally made it to Quartzsite, Zach learned from our friends that our cats were never safe outside, even in the daytime, and neither was Louie, our Puggle. The coyotes are bad in that area, and they come right into camp.
We were only in Quartzsite for about an hour. On the way back to Oklahoma we gave ourselves one more overnight to look for Pebbles, and we didn’t find her. From that moment on, Scabbers and Heddy stayed inside. It took us five days to get back to Oklahoma, and it was five days of nonstop cat crying. They were NOT pleased about the no outside time, but we couldn’t take a chance.
That’s when the catio was born. The back deck still had to come down, and the lift still had to work, but the whole thing needed to be escape proof. Zach’s answer was to design a cage around the cage.
The No-Escape Plan
Since we knew we were stationary until the escape-proof part was done, that’s where Zach started. The back deck folds up and secures when we’re driving and lowers when we’re parked, and the openings on the sides were big enough for a sneaky, slinky cat to slip through. Zach built an insert to close the gap between the deck and the top, and he secured the sides too. The whole back section needed to be 100% escape proof.
The lift was the second problem, with more big gaps for cats to slip through. Zach made a plate to attach to the sides of the lift, which creates an enclosed side when it’s in driving position.


First we needed metal, which would have been easy with a truck. We didn’t have one, so we found a company in the Indiahoma, Oklahoma area that delivered, and the price was on point.
Zach built basic hinges to hold the top enclosure so it can open when we’re stationary. The top enclosure is angle iron and expanded metal. When it closes, the lower deck folds closed, locking and sealing it up. The expanded metal on the bottom of the lift is attached for good, and he used inch-and-a-half angle iron so nothing could escape.


I’ll be honest, I don’t understand everything Zach did, and I don’t need to. I trust his designs, and for me it’s all about the finished product. I figure my brain only holds so much, so if Zach has the knowledge to build a catio, I don’t also need it. I know other things, like toilet paper math and baking science.


For phase one, the finished product was a fully enclosed back section, which was the main goal. We wanted to get going to our next stop before starting on the rest. The lift got wings, which is my favorite part. Zach added metal sides so that when it’s in the up position it lays flush and makes a seal.


Our littlest guy, Phil, loves to be in the middle of the action, and he was Zach’s right-hand kitty. He’s polydactyl on his two front paws, but he still couldn’t manage to hand Zach the tools.

The Cabinet and the Litter Box
While we were in Arkansas, we had a good amount of downtime and access to a truck, so the build went full speed. We needed a cabinet for the back deck for my gardening stuff, and a litter box. We’d planned to paint a board to make it look nice, but that turned out to be unnecessary, so that was a project off the list.

Family helped us build the cabinet, which made the project go super fast, and they helped lift it into place. It was cold out there, so I really appreciate them heading out to help Zach. He spent a lot less time outside than if he’d done it alone.


And for proof that there really are men who read the instructions:

I jokingly call the cabinet The Litter Box, but it does house that situation. The bottom drawer is the litter box, and the cats can get to it from inside the bus at all times. This is the cabinet, clean and sealed so the odor doesn’t get through much. The litter box is on the bottom so they aren’t sending litter sailing down several levels.
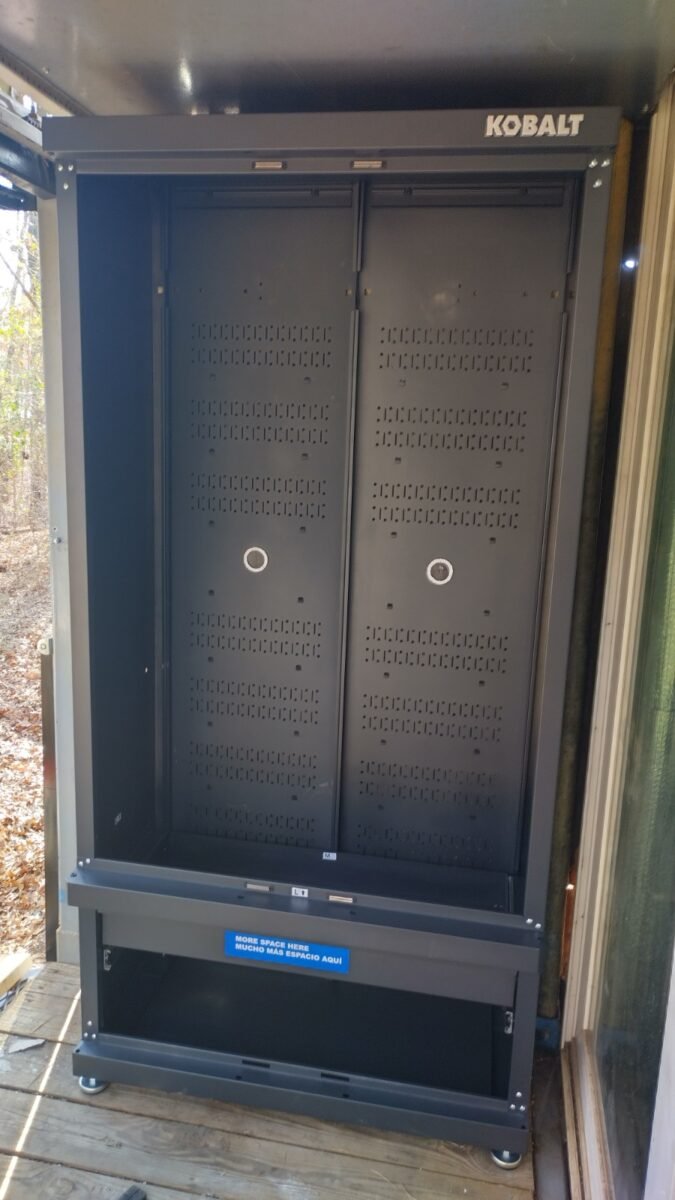
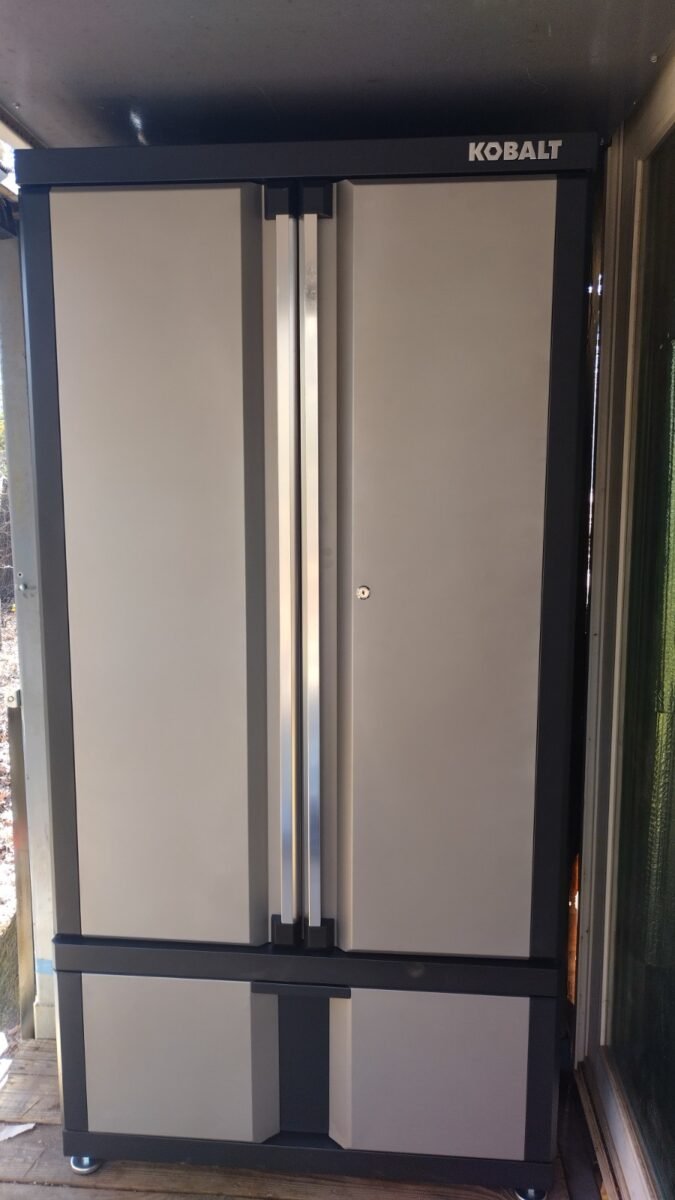
The cats go in through the cabinet from inside the bus and can also get out of it onto the catio. To keep room on the back deck for bigger things like a table and a pop-up awning, Zach pulled the cabinet forward a few feet and raised it to the roof to secure it. That leaves space underneath for the tables and behind it for the awning and a ladder. Storing anything in front of the cabinet isn’t an option.


I benefit from the cabinet too. I’m officially out of random totes and buckets and into milk crates neatly(ish) stacked inside. The bottom drawer is 100% theirs, because I absolutely do not need to share their bathroom.


Cutting the Holes
Next came cutting holes in the shelves so the cats can jump down through the top to the litter box in the drawer. We did the holes in an alternating pattern so there’s a place to drop before the next level, because I don’t think any of them would go for a three-level drop.


One section was a little taller than the others, and in test mode there was a lot of noise when they moved through it, so Zach put in a step.

Having Zach make the cabinet flush to the roof makes it easier to get to from inside, with no PVC tubing needed to connect it to the roof. That’s a win with our big kitties.


Scabbers was the first to try it, coming up through the cabinet into the bus. It took him a little over 3 minutes to pop his head up the first time. The second time we put him in the litter box drawer, it took him about 3.6 seconds to get inside the bus.
The drawer made things easy for me. I pull it open to clean the litter box. If it had been a shelf, the whole litter box would’ve had to come out every day to scoop, and no thanks. The cats have plenty of room to drop in without landing in the litter box, and I can store extra litter right next to it. We talked about carpeting the drawer to help with tracking but hadn’t decided.

The Pass-Through and the Cat Highway
We cut a hole in the wall for a pocket door between the shop and the house, so we can get into the shop from inside the bus and close it off when we need to. That’s handy on days we’re parked at Walmart just to shop, because we can close the cats in the shop while we unload. The pass-through is the cats’ way between the living area and the shop when the door is closed. Scabbers photobombed the construction, and with the remodel going on it was a beautiful mess.


The cats needed a way up to the pass-through, so Zach built them a tree to climb. He added a bigger platform at the top so they had room to turn around, and attached grippy carpet so they could grab on going up.


We put the cat food area at the top, for two reasons: it encourages them to use their new highway, and our dog Louie loves cat food. The boys mastered the tree, and they can walk the limbs and even tightrope along the bookshelf edge. Heddy jumps from the kitchen to the area above the bathroom, which is storage for things that don’t need cat hair on them. Heddy was still a work in progress on the tree. She’d been spotted on it, but mostly not.

The Obstacle Course
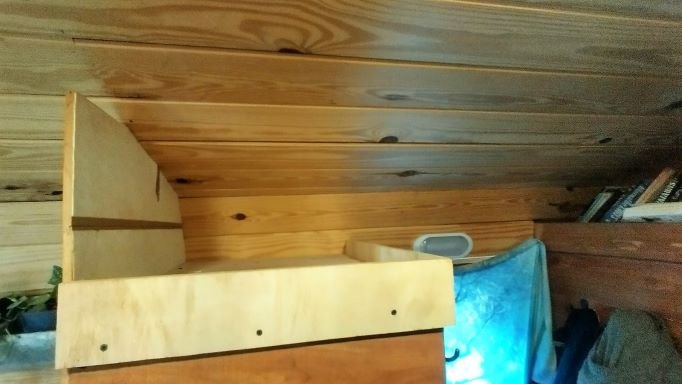
To reach their litter box, the cats had a multi-step obstacle course. First, a beam walk along a narrow beam. Second, a tight crawl space, which Scabbers had to tummy crawl through. Third, a jump onto the cabinet inside the shop. Fourth, finding the hidden entrance to the litter box cabinet. There was also an alternative route from inside the shop for cats who preferred the scenic route, and the boys used both.


The Cat Door
We also added a cat door so they can get outside. It can be kept locked when we don’t want them out while we’re traveling, and it connects to their path inside the cabinet system from the top shelf. At the time, the exit was a temporary rug slide.


That’s the catio the way it was. A lot has changed since then, and I’ll do a full post on the upgrades once I get video and pictures.
Want to meet the cats who put this catio to the test? Head over to Meet Our Crew, and for more of what we’ve learned living in a bus, see Bus Life Reality.
Before You Hit the Road...
Get RATL's weirdest finds in your inbox — new adventures, old favorites, and the occasional dice roll. Only when there's something worth sending.
I'm In!
2 Comments